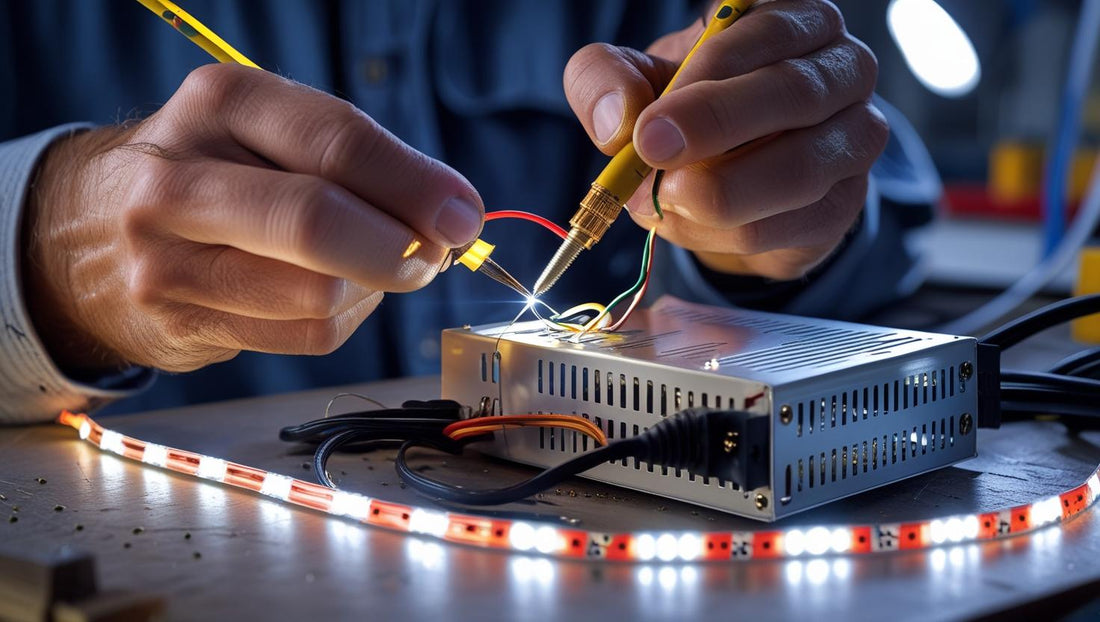
Power Supply Tips: How to Choose the Right Power Supply for Your LED Light Strips
Share
Whether you're installing LED strips in your kitchen, decking out your van, or adding some glow to your gaming setup, one of the most common questions we hear is: “What power supply do I need?”
Understanding how to match your LED strip lights with the right power supply is essential. Get it wrong, and your lights might flicker, underperform, or even fail. Get it right, and you’ll have a safe, reliable, and long-lasting lighting system.
Let’s break it down in beginner-friendly terms.
🔌 What Is a Power Supply?
A power supply (also known as a transformer or driver) converts your home’s 240V AC power into the low voltage (usually 12V or 24V DC) that LED strip lights need.
Think of it like a translator between your mains power and your delicate LEDs. Without it, your strips simply won’t work—or worse, they'll burn out.
⚡ Step 1: Know Your Voltage – 12V vs. 24V
Check your LED strip specs. Most common strips run on either:
- 12V DC
- 24V DC
💡 Pro tip: The voltage of your LED strip and your power supply must match. A 24V strip with a 12V power supply will barely light up. The other way around can fry your strip.
🔢 Step 2: Calculate Your Wattage Needs
Here’s a quick formula:
Total Wattage = Length of strip (in meters) x Watts per meter
For example:
- You’ve got 3m of a 12V strip that uses 10 watts per metre.
- 3m x 10w/m = 30 watts total
Now add a 10–20% buffer for safety and efficiency:
- 30w x 1.2 = 36 watts minimum power supply
So, choose a power supply that provides at least 36 watts. In practice, you might grab a 40w or 50w model.
🧠 Step 3: Don’t Undersize the Power Supply
Using an underpowered supply is one of the top reasons LED projects fail. Symptoms include:
- Flickering
- Dimming
- Power drop at the end of the strip
- Overheating of the supply
Always size above your calculated load. That buffer ensures your supply isn't running at full tilt all the time—which increases lifespan and stability.
🧲 Step 4: Choose the Right Type of Power Supply
Here’s a quick rundown for different setups:
| Type | Best for | Notes |
|---|---|---|
| Plug-in power adapter | Small DIY jobs, under-cabinet lighting | Easy to install, like a laptop charger |
| Hardwired power supply | Permanent installations | Needs to be connected by an electrician in most cases |
| Waterproof (IP67+) driver | Outdoor or damp areas | Fully sealed, ideal for decks or bathrooms |
🔄 Step 5: Plan for Control (Dimming, RGB, Smart Control)
If you're using:
- RGB or RGBW strips – You’ll need a compatible controller between the power supply and the strip.
- Dimmers – Make sure the power supply is dimmable or compatible with the dimmer type (e.g. 0-10V, PWM).
- Smart systems (like Alexa or Google) – Some smart controllers need constant voltage, so match everything carefully.
🧯 Bonus Tip: Don’t Skip Safety
If your power supply plugs into the wall, make sure it's:
- Certified (look for RCM tick in Australia)
- Ventilated (don’t bury it in a drawer or ceiling without airflow)
- Not overloaded—running near 100% capacity is asking for trouble
✅ Summary Checklist
- Match the voltage: 12V strip = 12V power supply
- Calculate total watts: length x watts/m
- Add 10–20% buffer to your wattage
- Pick the right type for your space
- Plan ahead for dimming and controllers
Need Help?
At Artistic Lighting, we custom-build power supply kits matched exactly to your LED strips, including waterproof options, dimmers, and smart control units. Whether it’s for a van, home, or commercial install, we’ll take the guesswork out of it.
📩 Reach out and we’ll size it right for you—no drama, no guesswork.
